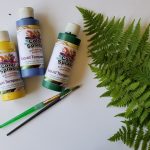
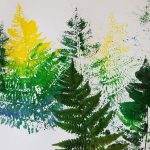
Take a walk outside to gather a collection of different types of leaves, ferns and other plants to experiment making a variety of nature prints with following the 4 easy steps below! Larger ferns and leaves held up the best. So gather your nature specimens right before your ready to start this activity.
Step 1
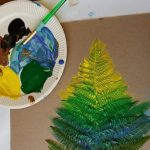
Use a soft brush to paint directly on the plant. Try to limit your color palette to just blue, green and yellow to keep the prints looking fresh.
Step 2
Use a soft brush & water based paint (tempera) to paint directly on the plants you gathered outside.
Step 3
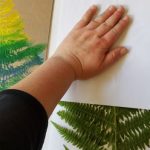
Next, carefully place your plant with the painted side down on top of a clean piece of art paper. Place a scrap piece of paper or old newspaper over the back of the painted plant and use your hand to firmly press the painted plant onto the paper creating a nature print.
Step 4
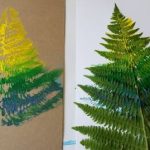
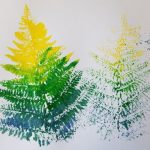
Remove the protective paper backing and carefully lift the plant off the paper to reveal your first nature print. You can make a second impression using the same plant to press the remainder of the paint off onto your paper creating what printmakers would call a “ghost print” or the second lighter print. You can see the different layers I built up to create an interesting effect below making two impressions from each coat of paint.
Tempera paint dries really fast, so this becomes a fast paced creative process that’s full of surprises!
No need to wait for the paint to dry in between impressions – just keep adding to your nature art print until you feel it’s done!